
In this article
Choose a location around your real routine
Start with the space you use rather than a picture of an ideal bathroom. Can you reach the flosser without moving several bottles? Is the surface stable? Can you pick it up and put it away without leaning across the sink or pulling a cable?
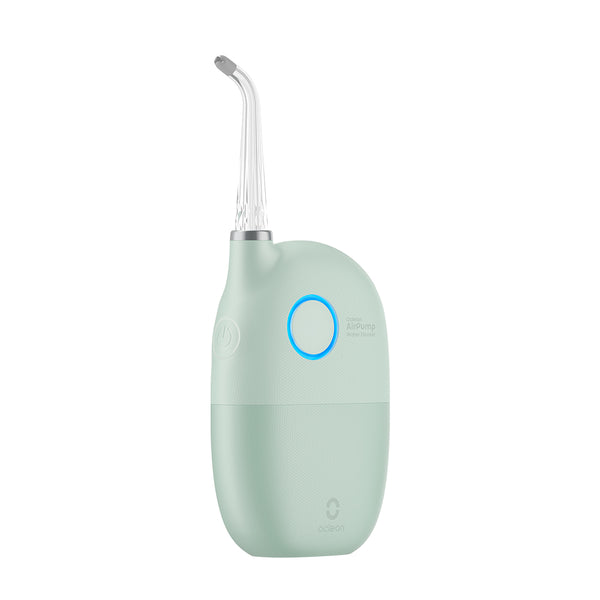
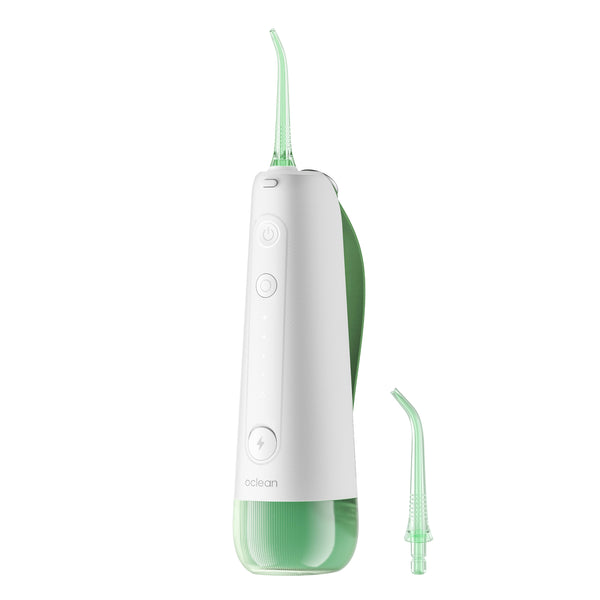
A compact device can be easier to accommodate, but the handle alone is only part of the picture. Leave room for the reservoir, nozzle, and any accessories you regularly use. A clear, repeatable place helps the device become a familiar part of your routine instead of another item to search for.
Separate after-use care from long-term packing
A daily bathroom spot and a closed travel bag serve different purposes. Follow your device's instructions for emptying, cleaning, and drying before storage. Do not assume that putting a wet device into a case completes its care routine.
Give removable parts the space and handling described in the manual. When choosing a tray or organizer, consider whether it is simple to clean and whether it traps water around the device. Our A10 cleaning guide covers the everyday care sequence; storage should support that sequence rather than interrupt it.

Make a shared shelf easy to understand
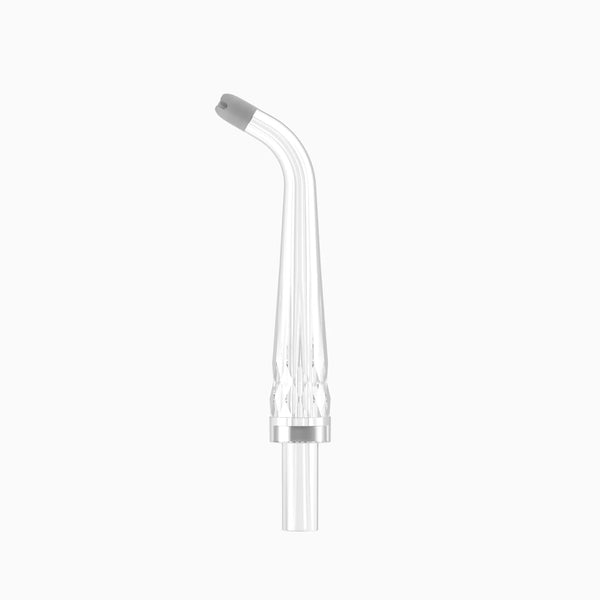
If several people use water flossers, give each person's nozzle a clearly identifiable place. Follow the hygiene guidance for your model and avoid treating individual nozzles as interchangeable household items. Keep unopened replacements separately so you can tell what is ready to use.
- Label storage spaces when similar accessories are easy to confuse.
- Keep the model name with spare parts or their packaging.
- Store small accessories where they will not disappear behind toiletries.
- Keep cleaning supplies separate from the device's water supply.
A simple organizer is useful only if everyone can follow the arrangement.
Related guide: personal care in a shared bathroom.
Give charging its own sensible place
Check the manual before deciding where charging will happen. Arrange the charging equipment and its surroundings according to the device's electrical and care instructions. Avoid selecting a location solely because it makes a shelf look tidy.
Think about access as well as appearance: a cable should not need to stretch across your daily workspace, and the charging accessory should remain easy to identify. If you use an AirPump A10, keep its instructions with your product records so you can check the correct setup whenever you change your bathroom arrangement.
Frequently asked questions
Can I keep the flosser in its travel bag every day?
Check the storage instructions for your model. A travel bag is useful for carrying a properly prepared device, but it should not replace the recommended after-use cleaning and drying routine.
What matters more: open storage or a cabinet?
Choose a location that supports the manual's care and storage requirements, remains stable, and lets you use and maintain the device comfortably.
How should I organize spare nozzles?
Keep compatibility information and packaging, separate unopened replacements from used accessories, and make individual nozzles easy to identify.